| default | |
| 0 | |
| http://historicaldesign.com/wp-content/uploads/2017/12/HD-Jewels-Logo-for-Product-Page-2.png | |
| http://historicaldesign.com/wp-content/uploads/2018/03/146-Br-Peacock-Room-Freer-Gallery-copy.jpg |
HISTORICAL DESIGN INC. NEW YORK, NY
TEL 212 593 4528
EMAIL gallery@historicaldesign.com
WEBSITE www.historicaldesign.com Email / Print
TEL 212 593 4528
EMAIL gallery@historicaldesign.com
WEBSITE www.historicaldesign.com Email / Print

-
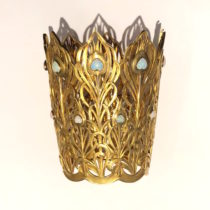
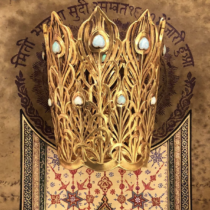
Boucheron (attr.) large and impressive “Peacock Feather” cuff/bracelet in 18k gold and set with numerous heart shaped cabochon opals as the eyes of the peacock feathers, marked, c.1895